Add a virtual background to your webcam or video stream
The Webcast service does not currently offer virtual backgrounds; however, if you're broadcasting a single webcam or multiple webcams (video bridge) during the event, you can add them to your video stream with a third-party virtual webcam app. A virtual webcam app is software that allows you to add virtual backgrounds, filters, and more to your webcam video. After you install it, the virtual webcam displays as a new webcam source that you can select when joining the event.
If you are broadcasting an event with an advanced video bridge (ask your host if you're not sure), you can connect to the event from an online meeting app like Zoom or WebEx that offers virtual backgrounds.
Supported virtual webcam apps include:
- CamTwist
- Chromacam
- Manycam
- OBS with Virtual Camera
- Snap Camera
- Xsplit VCam
Note: Download and test the app in the Live Studio at least 48 hours before the event starts. We do not provide support for third-party applications.
Change your background with a virtual webcam
Before joining the Live event, start the virtual webcam app and set up your virtual background.
Important: You must keep the virtual webcam running during the event for your virtual webcam to display properly.
Single webcam
To connect to the event with a virtual webcam:
- Join the Live Studio.
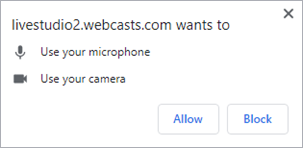
- In the Live Studio, a notification displays in the top left of the window that requires you to allow the Live Studio to access your computer's camera and microphone. Click Allow to grant permission.
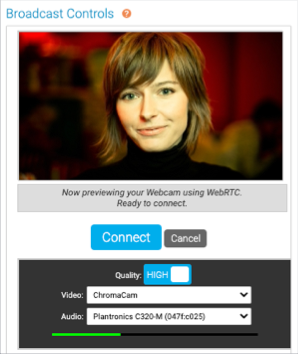
- In the Broadcast Controls panel, click Preview.
- For your Video source, select your virtual webcam and then select the microphone you want to use for the broadcast. Check your webcam preview and audio levels to verify that they work properly
Note: This is only a preview. Your webcam is not visible to the audience or other presenters.
- Click Connect to connect your audio and video to the event. Once you're connected, other presenters can see your webcam.
Note: The connection can take up to two minutes to establish. If your stream fails to connect, click Cancel and then preview and connect it again.
Multiple webcams (video bridge)
To connect to the event with a virtual webcam:
- Join the Live Studio.
- In the Live Studio, click Connect using my webcam.
- Enter your name and click Next.
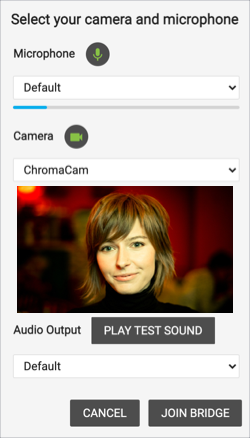
- For your Camera source, select your virtual webcam and select the Microphone and Audio Output sources you want to use for the broadcast.
- Click Join Bridge.
Change your background with an online meeting app
To connect to the event with a meeting application:


